Due to reasons out of my control, I have to wait to mold my other projects. Sometimes you gotta wait. So I’m waiting… and keeping busy. Where to go next? The obvious choice in my head is to start mixing Bandit into the equation. Here we go…
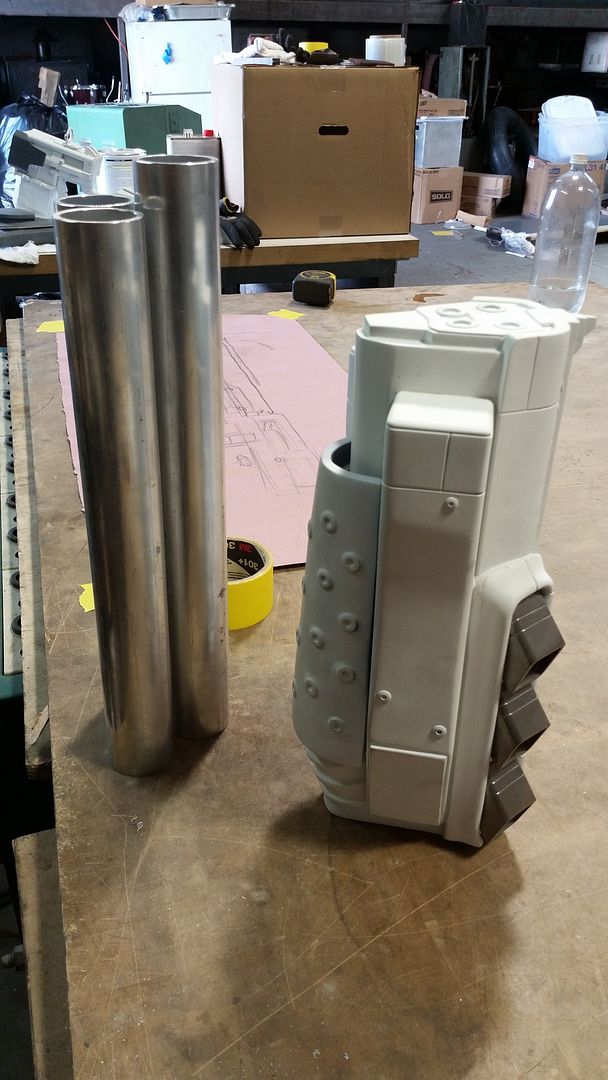
Using the Flakker components I already made, I started scaling the barrel of the Bandit Shotty (as I am now referring to it.) I snagged some appropriately sized aluminum tube and sliced them to length. The Bandit triple barrel is slightly longer than the Torgue, though the difference seems much greater in this photo of the loose material mocked up next to the completed Torgue barrel.
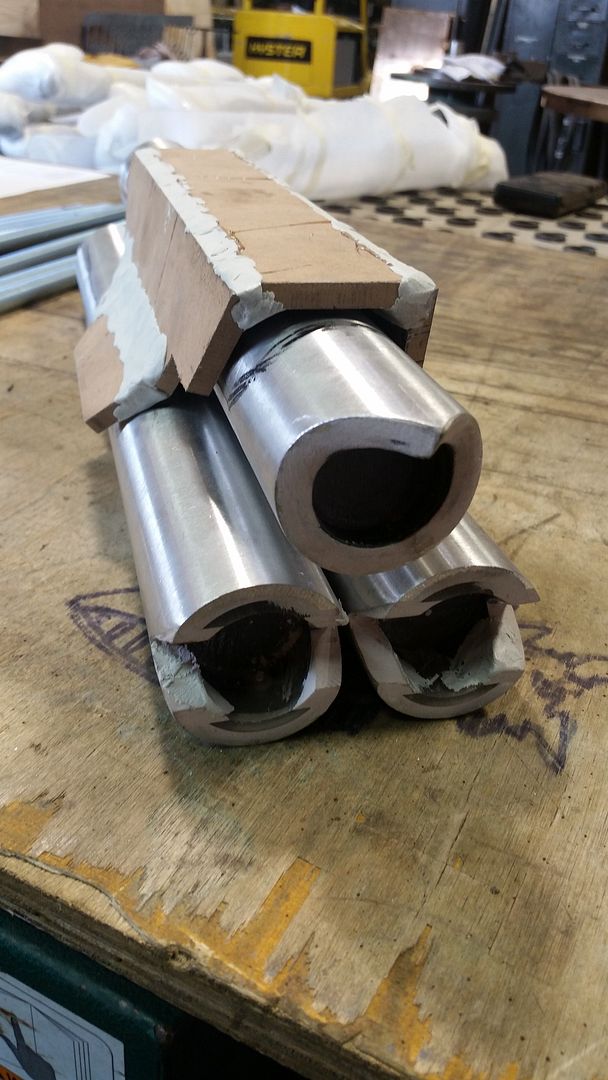
So I nibbled and trimmed and back-filled and sanded to come up with a nicely dangerous looking nose. I capped both ends of the tubes to make molding and casting easier. I then glued them together with some random aluminum and brass spacer material, which made the barrel very heavy. After they were set, I started the layout of the first barrel shroud. Using my freshly refurbished band-saw I cut the components out of MDF and glued/filled/sanded the start of the shroud.
It should be said that I started this project on a whim. Needing something to fill my time with shotguns still on my mind, you know? The 3-Way Hulk is an easy mod for the Torgue/Hyperion model, and I have always loved that Bandit barrel… I started this project on my lunch break so the only drawing I made was a crude sketch on a piece of rosin paper I taped to my table at the shop. This goes against everything I know to be right about order of operations in design/build applications, and it ends up kicking me in the ass eventually. I cannot express enough the importance of a good set of drawings. Whether you purchase or produce your own, you gotta get those drawings, McBane! I got a little further along and realized that I spaced the barrels too far apart on initial gluing. This simply will not do, so I cut them apart and removed everything I had done to them up to that point. *see: “ass-kick”
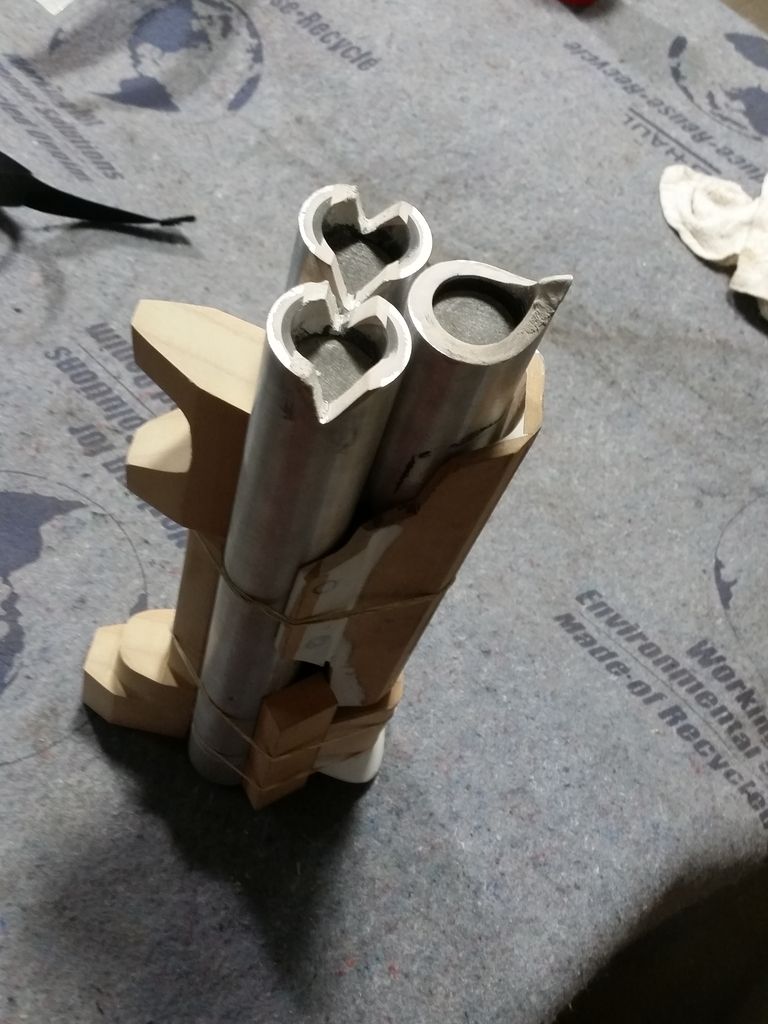
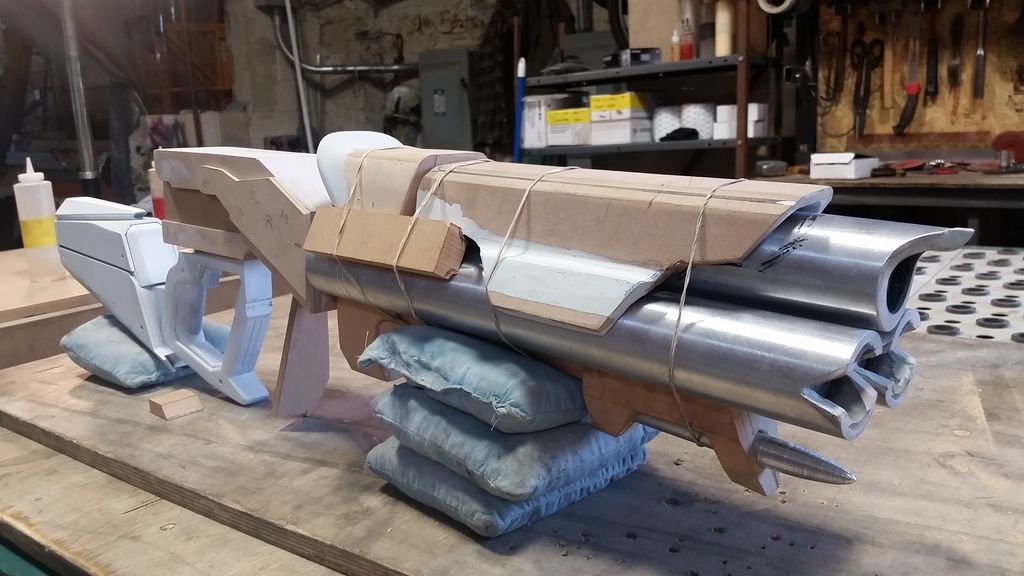
I reset the barrels with a more level head and appropriate spacing. Luckily the work I had done on the shroud components was still completely viable. After producing a clean drawing, I roughed out the pump assembly and banded everything together to gauge where things were heading…
After that I spent time drawing a scaled plan of the body and drum magazine. The straight magazine (a major part of the Slayer of Terramorphous model, amongst others) and the Bandit specific: sight, pump, and stock still have to be scaled out, but are on the way.
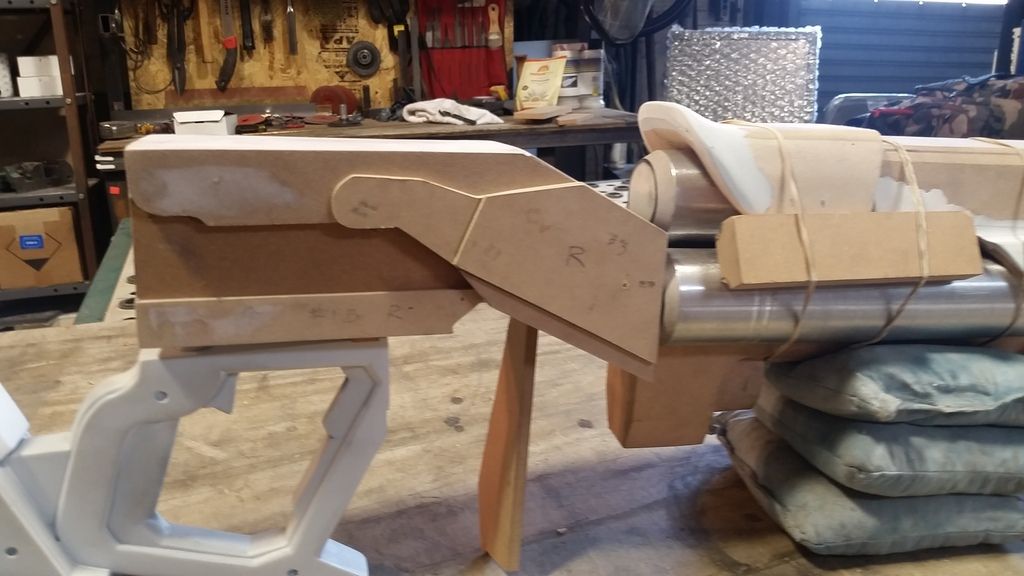
With the plans clearly laid out, I assembled the majority of the body’s core in just a couple hours time.
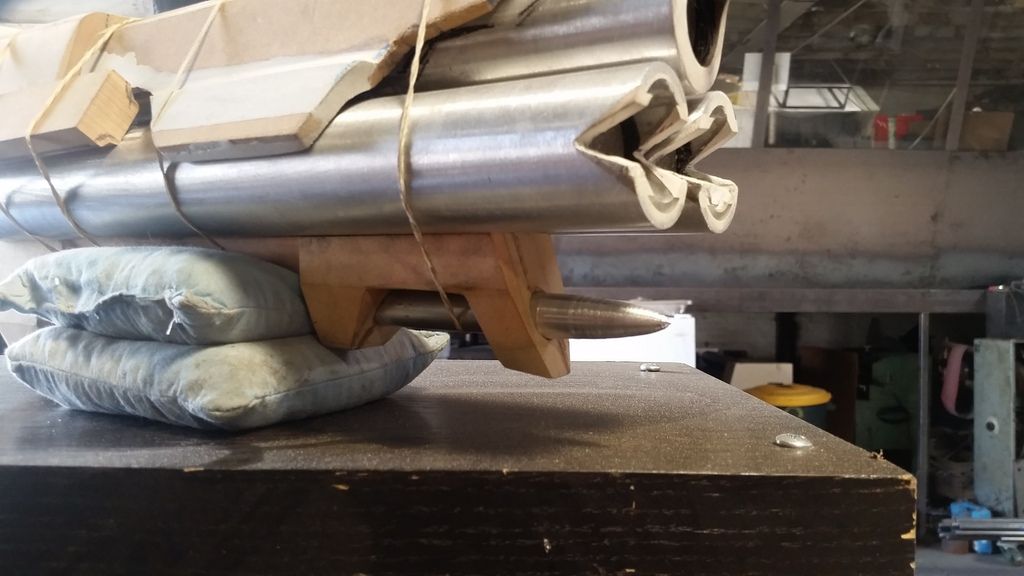
I also turned the spike for the front of the pump assembly out of aluminum and bored out the nose for a nice result.
Next week things start to fill up on my docket, but I still plan on keeping this project cranked to ELEVEN. It’s amazing how a little notion can explode into a lot of awesome.
If you let it.
